Unlike most video recording tools, the free screen recorder iTop Screen Recorder allows you to do as many recordings as you want, making it the perfect tool for teams to collaborate in any workplace. But, before you can use this tool satisfactorily, you have to fully understand how to record your screen Windows 10.
It should be pointed out that you can make long recordings with this tool. That is why it is becoming one of the go-to tools for presentations in many companies today. Therefore, this article will be talking about how best to make use of this tool for presentations.
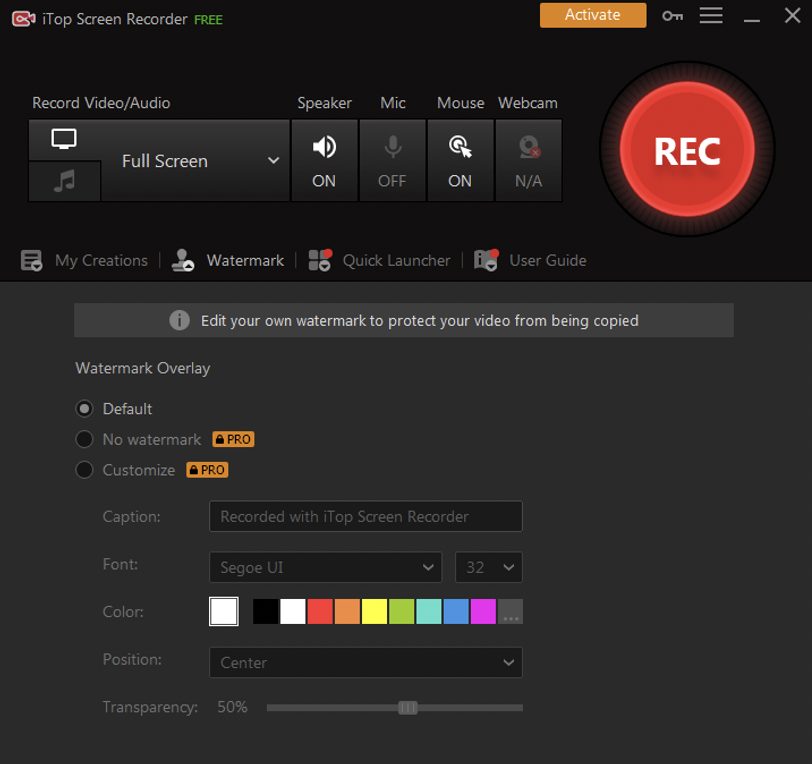
Launch iTop Screen Recorder
Most people are only familiar with how to record your screen for YouTube. Online search results show that lots of people are eager to know whether this screen recording tool can be used for PowerPoint presentations.
Also Read >>> Free Online Screen Recorder No Installation
Therefore, if you are using iTop Screen Recorder for PowerPoint presentations, the first thing you need to do is open the application. Click on Full Screen, as that will enable you to target the area of your screen you intend to record. The default option is Full screen. However, you can manually choose the part of your screen you want to focus the recording.
Enable facecam and audio icons
This tool is designed to automatically detect accessories on your PC, such as a microphone, speakers, webcam, and mouse all by itself. After detecting them, it will have them enabled so they can function as you screen record. In other words, if you are concerned about how to record screen Windows 10 with sound and webcam, then ensure those functionalities are turned on. Otherwise, turn them off.
Commence recording
At this point, you are almost through with the process. To effectively capture video windows 10, you should click on the record button. It will start recording your screen immediately after you do that. One control bar will be visible on one corner of the screen when the tool begins to record your screen.
You can press F10 or click on Pause to pause the recording or press F9 or click on Stop to stop the recording.
Edit & Save
My Creation is where all recorded videos will appear. The screen-recorded video should be there. You can open it and do some editing on the video if you don’t like it the way it is. When you are through, you need to have it exported to any destination of your choice.
Conclusion
Whether you want to use iTop Screen Recorder as a streaming audio recorder or for presentations, it remains one of the best screen recording tools. This application is user-friendly and allows you to do a lot of things. Thankfully, this post has highlighted how you can use this screen recording tool to enhance your presentations. Any Average Joe can follow all the steps in this post. iTop Screen Recorder comes in both free and premium versions. You can use the free version to do your recording if you cannot afford the paid version.